There’s something special about watching your feathered friends thrive in a space designed just for them. I still remember the excitement of setting up my first home for my flock—every detail mattered, from roosting bars to nesting nooks. A well-planned Backyard Chicken Coop Interior Layout isn’t just about looks; it’s about keeping your birds happy, healthy, and productive.
Whether you’re a first-time owner or a seasoned enthusiast, the right design makes all the difference. Proper airflow, cozy spots for laying eggs, and easy-to-clean flooring are just a few essentials. Real-world examples, like Hen House Collection’s clever setups, show how smart planning boosts egg production and flock well-being.
And let’s talk about “chicken math”—that unexpected moment when your small group grows into a bustling crew! A flexible Backyard Chicken Coop Interior Layout adapts to surprises while keeping things functional and stylish. Seasonal changes? No problem. With the right tips, your space will work year-round.
Key Takeaways
- A thoughtful design keeps your birds healthy and productive.
- Focus on essentials like roosts, nesting boxes, and ventilation.
- Real-world examples offer practical inspiration.
- Plan for flexibility—flocks grow faster than expected!
- Balance functionality with aesthetics for a space you love.
Why Your Chicken Coop Interior Layout Matters
Poor airflow in your chicken coop can silently harm your hens’ health. Ammonia from droppings builds up fast—levels over 40ppm cause respiratory issues. I learned this the hard way when my flock started sneezing. A smart chicken coop design prevents this.
Cramped chicken coop spaces spread disease. Birds jostling for roosting spots can pass infections. The USDA recommends 4 sq ft per bird, but real-world needs vary. My friend Annette saw 90% of eggs laid in one box—stress from poor nesting choices in her chicken coop.
Predators exploit weak spots. Raccoons can tear chicken wire like paper. Hardware cloth is stronger. After a midnight raid, I upgraded my chicken coop’s security. No losses since.
Lighting affects egg production. Hens need 14+ hours of light daily. Natural light works, but winter demands supplements. My chicken coop‘s output jumped 30% after adding LED timers.
Financial savings? Preventable vet bills shrink with good chicken coop design. The Hen House Collection proves modern chicken coop layouts reduce upkeep costs. Their models blend aesthetics with predator-proofing.
Birds thrive with proper perches and nesting nooks. It’s not just physical—their mental well-being improves too. Watching my hens jostle for the highest roost in the chicken coop? Pure joy.
Essential Features for a Functional Chicken Coop
Ever noticed how happy birds act when their home meets their needs? It starts with smart features. A blend of comfort and practicality keeps your flock healthy—and your life easier.
Roosting Perches: Where Your Chickens Sleep
Birds love to perch high. I learned this when my hens fought over the top spot on a wobbly branch. Sturdy, rounded bars (2–4 inches wide) prevent foot injuries. Space them 12 inches apart to avoid squabbles.
Nesting Boxes: Creating the Perfect Egg-Laying Space
One box per 3–4 hens reduces stress. Line them with straw or pine shavings for easy cleanup. My first setup had boxes too low—egg production doubled after raising them to waist height.
Proper Insulation: Keeping Your Coop Comfortable Year-Round
Extreme temperature swings harm birds. In cold climates, aim for R-13 insulation. A friend used Tech Shield under a metal roof—it cut summer heat by 30°F. Watch for moisture buildup; vents prevent condensation.
- Winter tip: Reflective barriers behind walls boost warmth.
- Roofing choice: Corrugated panels shed snow faster than shingles.
- Balance: Too much insulation traps ammonia—pair with ventilation.
Optimizing Airflow and Lighting
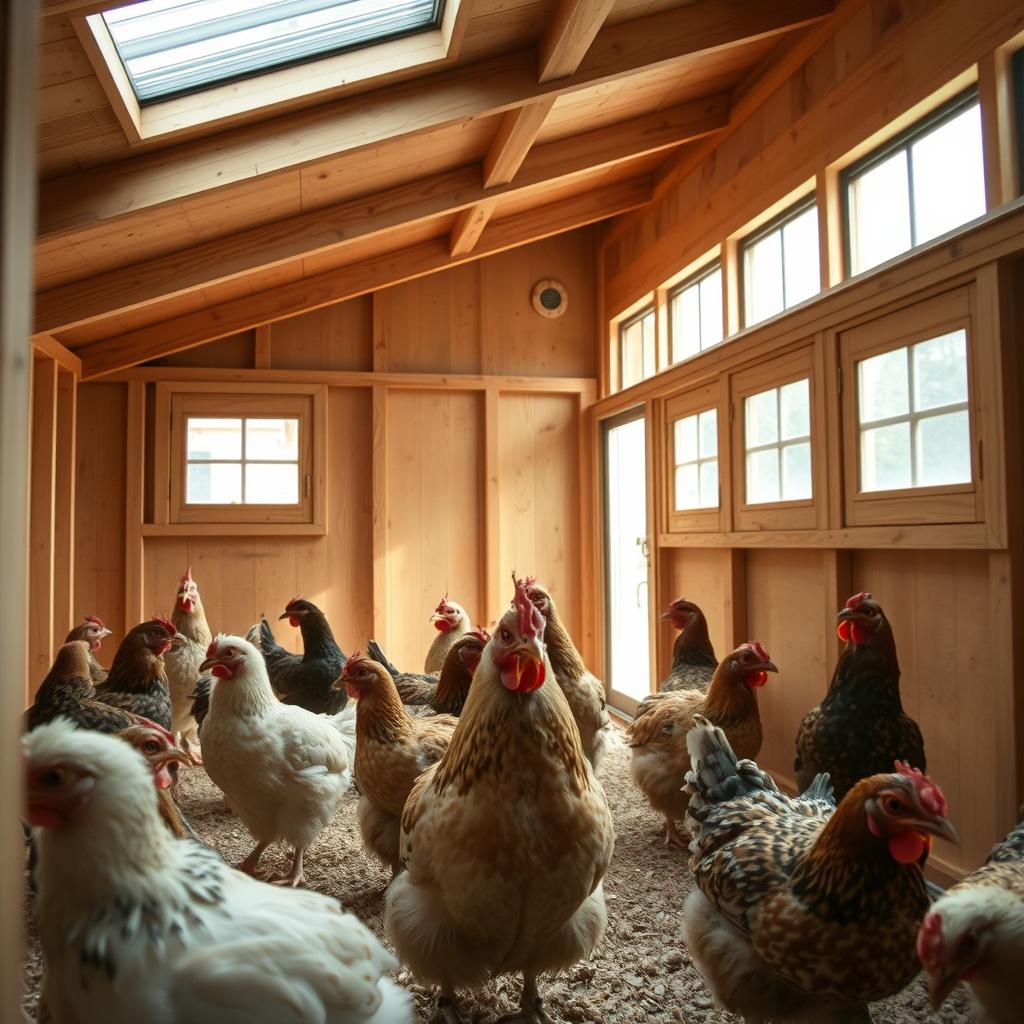
Fresh air and proper lighting transform your flock’s health and productivity—I saw it firsthand. After tweaking my setup, my hens stopped sneezing, and egg production soared. Here’s how to nail both essentials.
Ventilation: The Key to Healthy Air Quality
Stale air breeds trouble. I learned this when ammonia fumes made my birds lethargic. Strategic windows near roosts and vents at the ceiling create a cross-breeze. Avoid drafts at bird level—cold air should exit upward.
Hardware cloth over openings keeps predators out. My coop’s adjustable vents let me control airflow in winter. Result? Zero respiratory issues last year.
Natural vs. Artificial Lighting: What Works Best
Hens need 14+ hours of light daily for steady laying. In summer, sunlight works. Come winter, I use supplemental 40-watt LEDs on timers. The blue-white spectrum mimics dawn, keeping cycles consistent.
- Automatic timers: Set lights to turn on/off at 5 AM and 7 PM for seamless transitions.
- UV benefits: South-facing windows boost vitamin D, but avoid overheating.
- Predator-proofing: Install lights inside, not outside, to avoid attracting pests.
Flooring and Waste Management Solutions
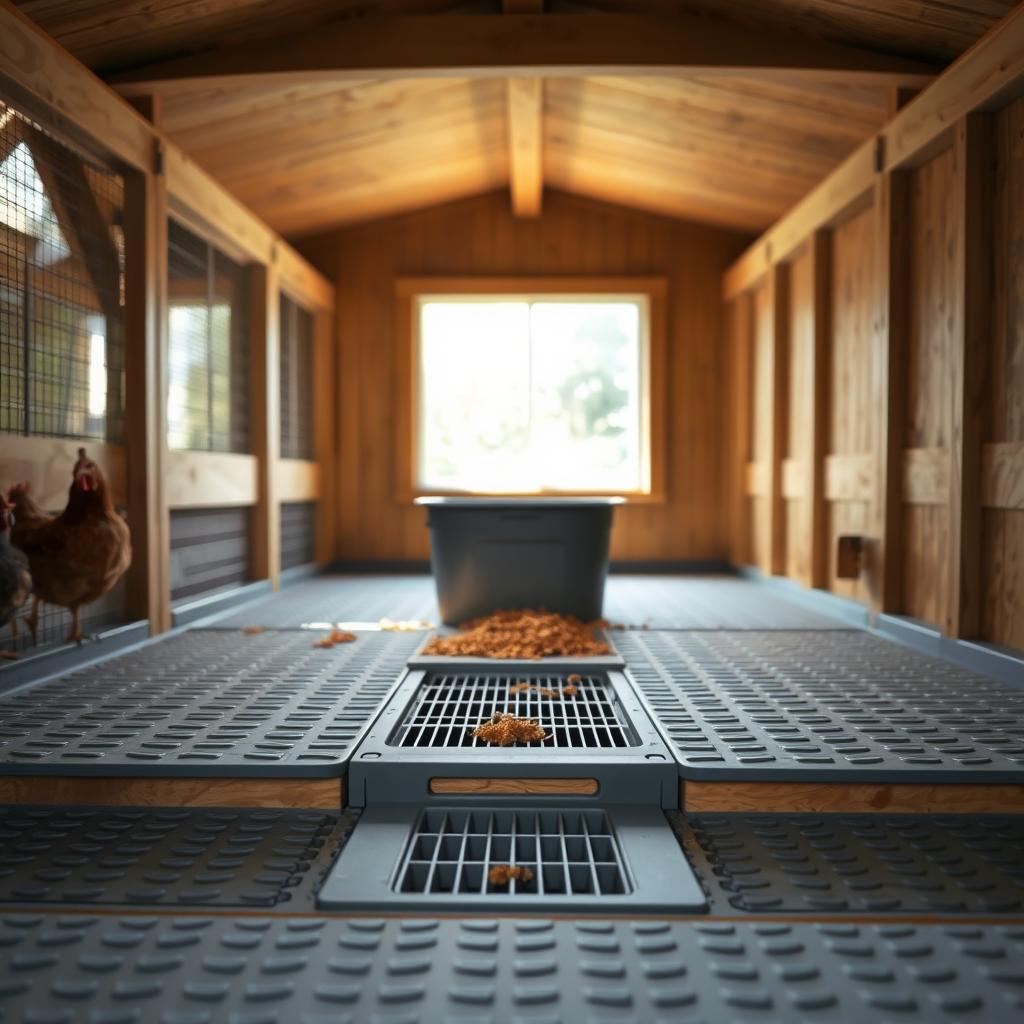
Keeping your flock’s space clean isn’t just about looks—it’s a health game-changer. Poor waste control breeds bacteria and odors, stressing birds and attracting pests. I learned this after my first coop’s ammonia levels spiked, leaving my hens coughing.
Raised Flooring: Benefits and Materials
Elevated floors prevent moisture buildup and deter predators. My plywood-and-hardware-cloth design lets droppings fall through, while cleaning takes half the time. For cold climates, add insulation between layers.
Popular materials:
- Plastic grids: Lightweight, hose-friendly, and rot-proof.
- Cedar planks: Natural pest resistance (avoid treated wood).
- Concrete: Durable but needs bedding for warmth.
Litter Trays: Making Cleanup Easier
Slide-out trays under roosts catch 80% of waste. Mine are lined with newspaper for quick swaps—no scraping needed. Size them 2″ wider than the perch span.
Pro tips:
- Deep litter method: Layer 3″ of pine shavings; stir weekly to break down waste naturally.
- Compost safely: Mix droppings with straw, heat to 130°F to kill pathogens.
- Odor control: Sprinkle baking soda or diatomaceous earth weekly.
Feeding and Watering Station Setup
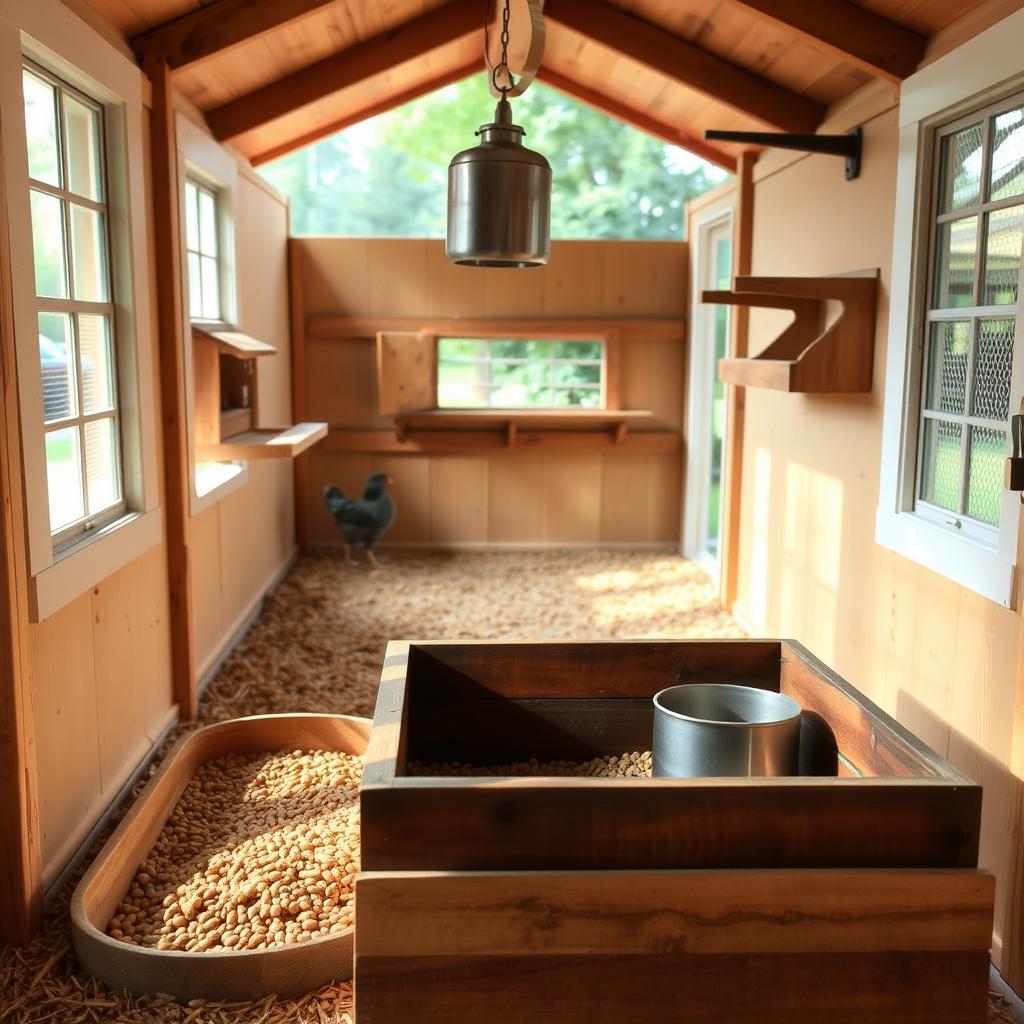
Rodents raided my feed stash once—now I swear by airtight containers and strategic placement. A messy setup attracts pests and wastes supplies. But with a few tweaks, you’ll keep everything clean and accessible.
Positioning Feeders and Waterers for Maximum Hygiene
Elevate stations 12–18 inches off the ground. This prevents scratching debris into water. My hanging feeders reduced spillage by 70%.
Place them away from roosts. Droppings contaminate food fast. A corner with easy refill access works best.
Food Storage: Keeping Pests Away
Metal bins outlast plastic against rodents. Gamma seal lids create a perfect seal—no more chewed bags. Store feed off concrete to avoid moisture.
- Bait stations: Place near walls, not near feed.
- Diatomaceous earth: Sprinkle around bins to deter bugs.
- Inventory rotation: Use oldest feed first to prevent mold.
Security Measures to Protect Your Flock
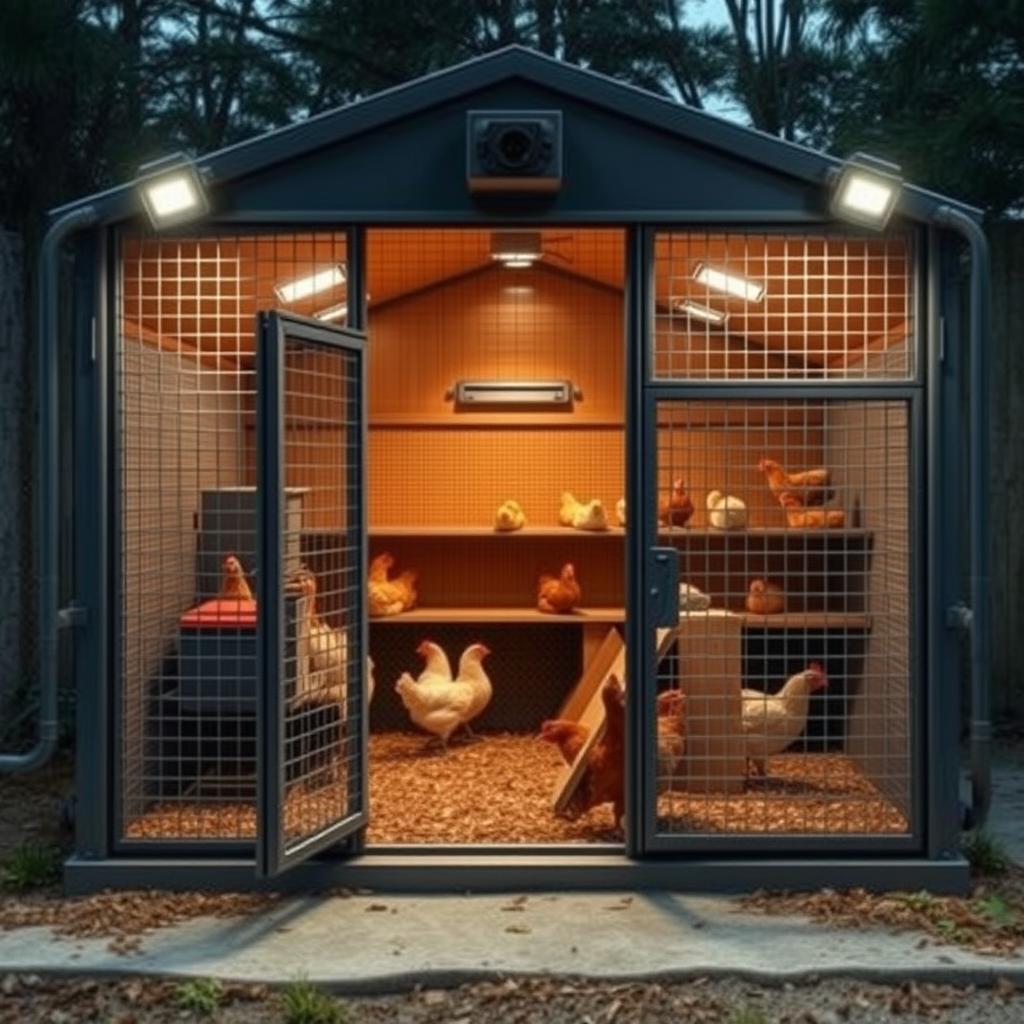
Nothing ruins a peaceful morning like finding your flock stressed by a predator’s midnight visit. After a raccoon tore through my first setup, I realized security isn’t just locks—it’s layers of defense. Here’s how to outsmart crafty intruders.
Predator-Proofing Your Space
Raccoons can open latches, and foxes dig under walls. My game-changer? A ½” welded hardware cloth skirt buried 12 inches deep. It stops weasels and digging predators cold.
Double-check entry points. A gap wider than ¼ inch invites snakes. I added rubber seals to doors after losing eggs to a rat snake.
Hardware Cloth vs. Chicken Wire: What to Use Where
Chicken wire costs less ($1.80/sqft) but fails against claws. For vents and windows, 19-gauge hardware cloth ($4.50/sqft) lasts 10+ years. Its welded seams won’t unravel like twisted wire.
Hybrid approach: Use wire for ceilings (low-risk areas) and hardware cloth for ground-level defenses. UV-resistant coatings prevent rust in rainy climates.
- Tool tip: Tin snips cut hardware cloth cleanly; wear gloves for sharp edges.
- Repair hack: Patch holes with zip ties until permanent fixes.
- Lifespan: Chicken wire lasts 3–5 years; hardware cloth endures 15+.
Space Planning for Your Backyard Chicken Coop Interior Layout
Vertical space changed everything—my hens now hop between levels like tiny acrobats. A well-planned area prevents crowding and boredom. Start with basics, then get creative.
How Much Room Do Your Birds Need?
The old rule of 4 sq ft per bird works—until your flock doubles. My six hens needed 24 sq ft, but I added 10 more for roaming. Adjust for breed size; Orpingtons need more elbow room than bantams.
Think beyond floors. Staggered perches and platforms 18 inches apart let birds claim their spot without fights. My friend’s retractable ladder saves space when not in use.
Multi-Level Design Ideas
Lofts maximize square footage. I built a second story with a 30° ramp—gentle enough for older hens. Below, a dust bath zone doubles as a shaded retreat.
- Playground perks: Hang cabbage piñatas or low ropes to encourage climbing.
- Cleaning access: Leave 12 inches between walls and fixtures for easy scrubbing.
- Fall-proofing: Add railings to high perches; my silkies stumbled before I did.
Comfort Add-Ons for Happier Hens
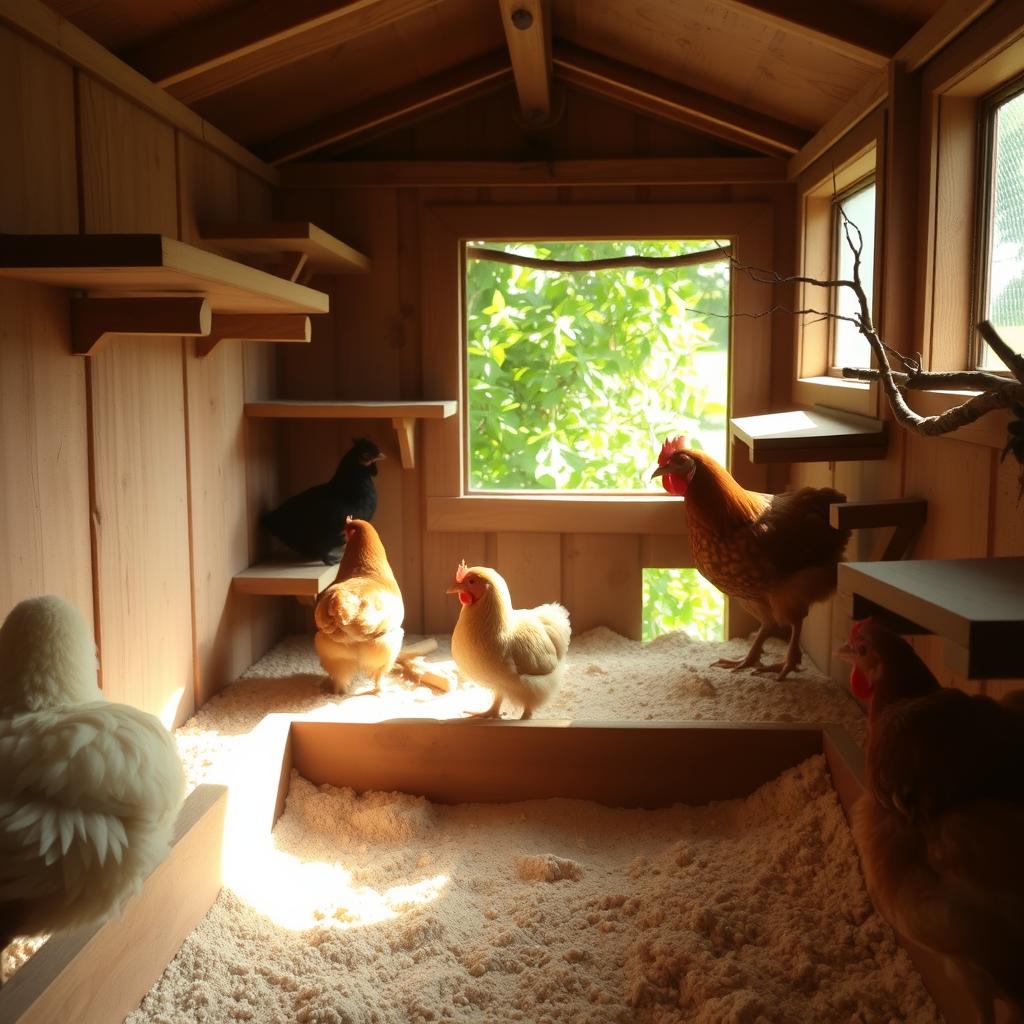
A simple sand pit became my flock’s favorite spa day destination—with surprising health perks. Small upgrades transform basic spaces into enrichment zones that reduce stress and boost natural behaviors. Here’s how to pamper your birds the right way.
Dust Bath Areas: Keeping Birds Pest-Free
My hens’ DIY pest control shocked me. A mix of sand, wood ash, and diatomaceous earth in a kiddie pool eliminated mites naturally. Apple wood shavings add antibacterial benefits—plus, they love pecking at the bark.
Key features:
- Size: Minimum 12″x12″ per bird
- Location: Dry, shaded spots prevent clumping
- Texture blend: Add peat moss for fluffy feathers
Perch Variations: Creating an Engaging Environment
Uniform roosts bored my flock. Now, branches of varying diameters (2–4″) mimic their natural habitat. Silkies prefer wider perches, while Leghorns leap between thin poles.
Pro tips:
- Swing perches: Hanging bamboo rods reduce arthritis pressure
- Multi-height setup Encourages flock socialization
- Seasonal swaps: Move perches near winter sun patches
Maintaining Your Chicken Coop Interior
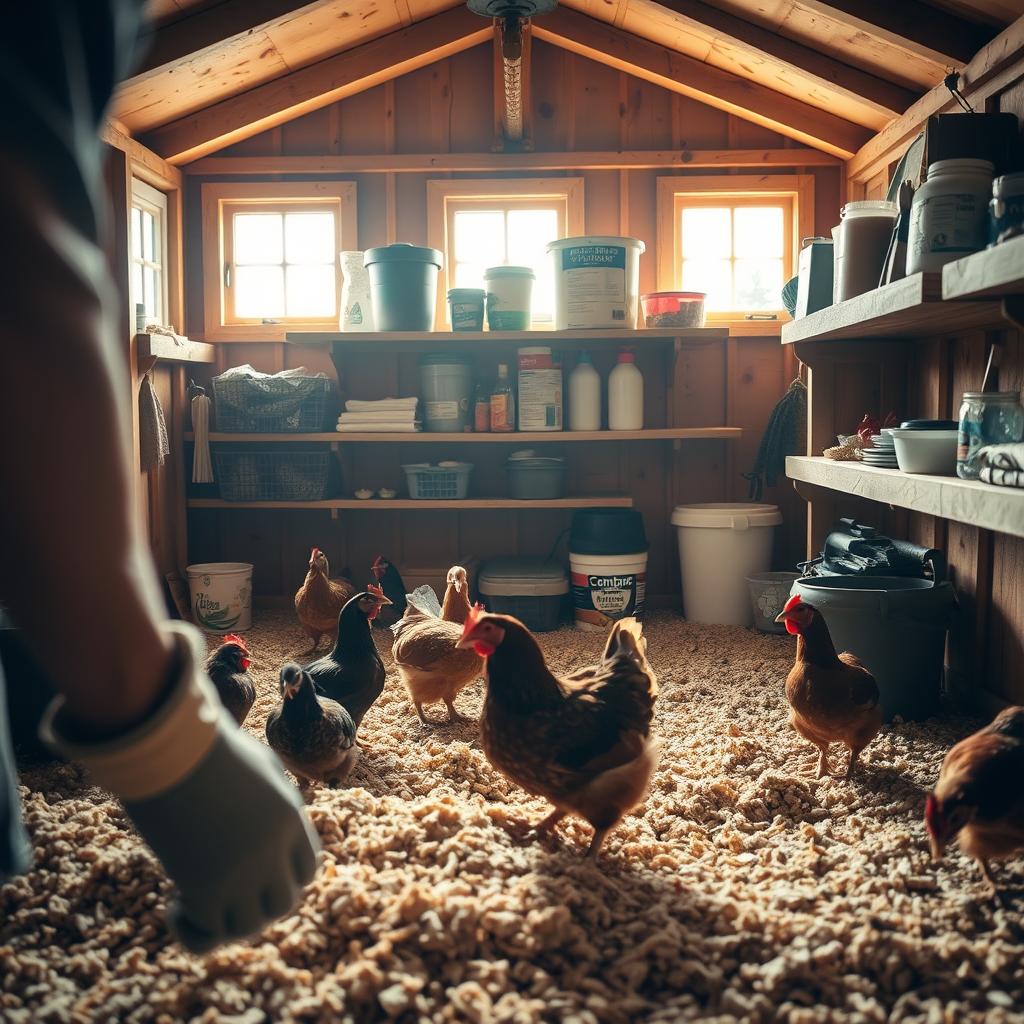
I lost two hens to heatstroke before realizing how crucial seasonal tweaks are. A clean, adaptable space isn’t just about comfort—it’s survival. From summer’s scorch to winter’s freeze, small changes make all the difference.
Cleaning Schedule and Best Practices
Weekly deep cleans prevent ammonia buildup. I use a vinegar-water mix (1:3 ratio) for scrubbing—it’s safe and cuts odors. Target roosts first; they harbor 60% of droppings.
Ventilation matters during cleanup. Open all vents while scrubbing to dry surfaces faster. A stiff-bristle brush reaches cracks where mites hide.
Seasonal Adjustments for Optimal Conditions
Summer demands airflow. I swap solid walls for hardware-cloth panels, leaving 30% open space. Winter flips the script—close ⅔ of vents but keep roof vents clear for moisture escape.
- Heating: Use radiant panels, not heat lamps. They’re fire-safe and mimic sun warmth.
- Shade: Source 2’s retractable awning blocks midday sun without trapping heat.
- Thermal cameras reveal cold spots—add insulation to north-facing walls.
Creating the Perfect Home for Your Feathered Family
Seeing my flock thrive in a well-planned space brings pure joy. Every detail—from airflow to roost heights—impacts their health and egg production. Start small, then refine as you learn your birds’ quirks.
Key principles matter most: prioritize ventilation, secure perches, and easy-clean surfaces. Platforms like HomeGrown offer blueprints to adapt—my first upgrade took just a weekend. Remember, a healthy flock starts with smart design.
Share your progress! Snap photos of your setup or ask questions in local groups. Those “just one more bird” moments? Embrace them—it’s part of the adventure.
Ready to begin? Grab my free checklist below. Let’s build spaces where feathers and fun flourish together.
If you want to read more article,please click here.
If you want to know more,then click here.
Leave a Reply