There’s something magical about watching tiny, vibrant visitors flutter around your garden. Creating your own hummingbird food is a simple way to invite these dazzling birds into your space. Best of all, it requires just two everyday ingredients—sugar and water—making it easy to whip up anytime.
Store-bought mixes often contain unnecessary additives, but a homemade recipe for hummingbird food ensures safety and purity. Skip the red dye—these energetic flyers are naturally drawn to bright feeders without artificial colors. Plus, fresh nectar keeps them returning all season long.
Whether you’re a seasoned bird lover or a curious beginner, this guide will walk you through the perfect sugar-to-water ratio, seasonal tweaks, and feeder care. Let’s make your backyard a haven for these winged wonders with homemade hummingbird food!
Key Takeaways
- Easy-to-make nectar using pantry staples
- Avoid harmful additives like red dye
- Ideal sugar ratio mimics natural flower nectar
- Clean feeders regularly to keep birds healthy
- Adjust recipes slightly for hot or cold weather
Why Hummingbirds Need Your Help
With wings that blur like helicopter blades, hummingbirds need constant fuel to survive. Their tiny bodies operate at full throttle, burning energy faster than any other birds. A single day for them is like a human cycling nonstop up a mountain.
Their High-Energy Lifestyle
Flapping up to 90 times per second, their wings demand insane stamina. To keep up, they eat *half their body weight* daily. That’s like a 150-pound person devising 75 pounds of nectar and bugs!
How Nectar Supports Their Diet
In the wild, they visit 1,000–2,000 flowers daily for sugary fuel. Your feeder acts like a pit stop, offering instant energy when natural sources are scarce. In Texas summers, for example, blooms dry up—but your mix keeps them buzzing.
By offering clean, homemade nectar, you’re not just feeding hummingbirds. You’re keeping their high-speed lives in flight.
Simple Homemade Hummingbird Food Recipe
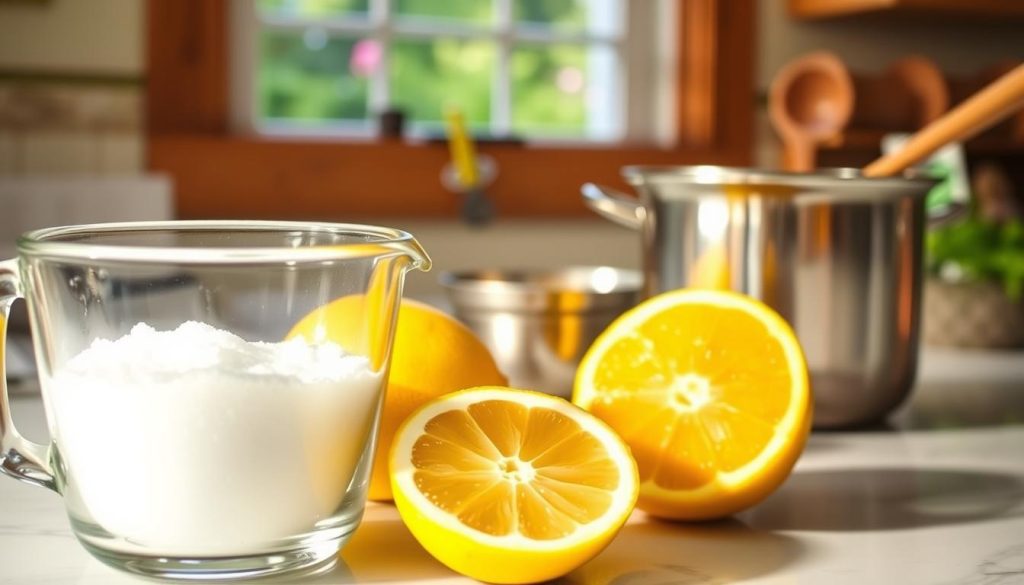
Whip up a batch of fresh nectar in less time than it takes to brew your morning coffee. This easy recipe ensures your tiny visitors get pure, energizing fuel without harmful additives.
Ingredients You’ll Need
Grab two pantry staples: refined white sugar and water. Avoid brown sugar, honey, or artificial sweeteners—they can harm birds. The ideal ratio? One part sugar to four parts water.
For a standard batch:
– 1 cup refined white sugar
– 4 cups water
Step-by-Step Instructions
1. Dissolve the Sugar: Heat water until nearly boiling. Stir in sugar until fully dissolved. A stovetop works best, but a microwave (1–2 minutes) also does the trick.
2. Cool Completely: Let the mixture reach room temperature before filling feeders. Hot nectar can damage feeders and harm birds.
3. Store Smart: Extra nectar keeps in the fridge for two weeks. Use a funnel to pour it into clean feeders without spills.
Pro Tip: Double or halve the recipe as needed, but always keep the 1:4 ratio. Consistency matters for their high-energy diets!
Getting the Sugar-to-Water Ratio Right
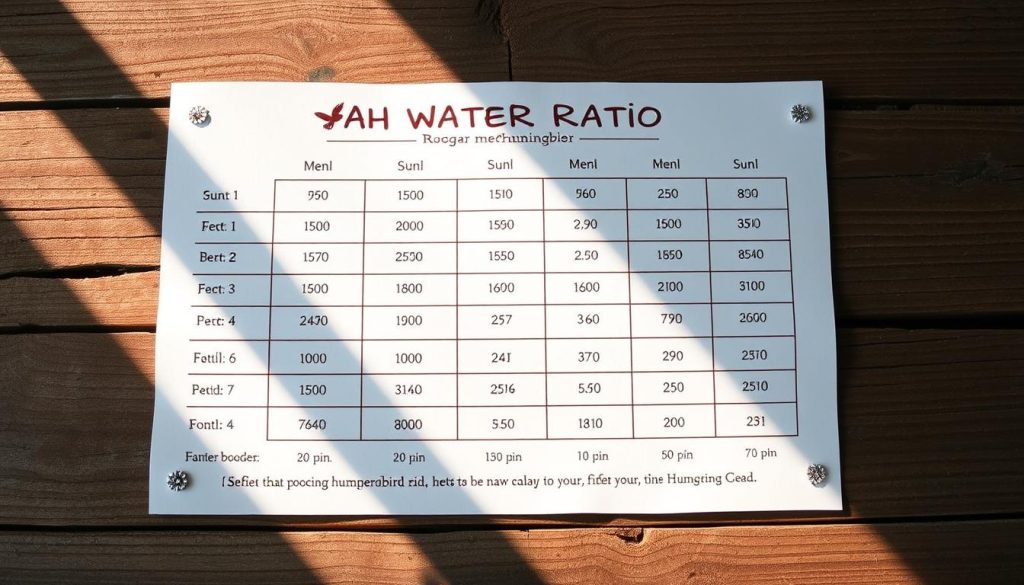
The perfect sugar water mix keeps your feathered guests energized and coming back for more. A precise ratio mimics natural flower nectar, giving them the fuel they crave without harmful additives.
Standard 4:1 Ratio Explained
Mix one part refined white sugar with four parts water—this mirrors the sweetness of wild blooms. For example, one cup sugar dissolved in four cups water creates a balanced batch.
Why this works: Higher sugar concentrations can dehydrate birds, while weaker mixes lack enough energy. Stick to 4:1 unless temperatures spike.
Adjusting for Hot Weather
In extreme heat (like Texas summers), reduce sugar slightly to prevent fermentation. Try ½ cup sugar per four cups water. This keeps the nectar fresh longer without losing appeal.
Pro Tip: Avoid 5:1 or 6:1 ratios unless facing syrup-like consistency issues. Over-diluting in mild climates deprives birds of vital calories.
Reader Success: “Switching to a lighter mix during hot weather saved my nectar from spoiling—and my hummingbirds stayed happy!” —Sarah, Austin, TX.
What NOT to Use in Your Nectar
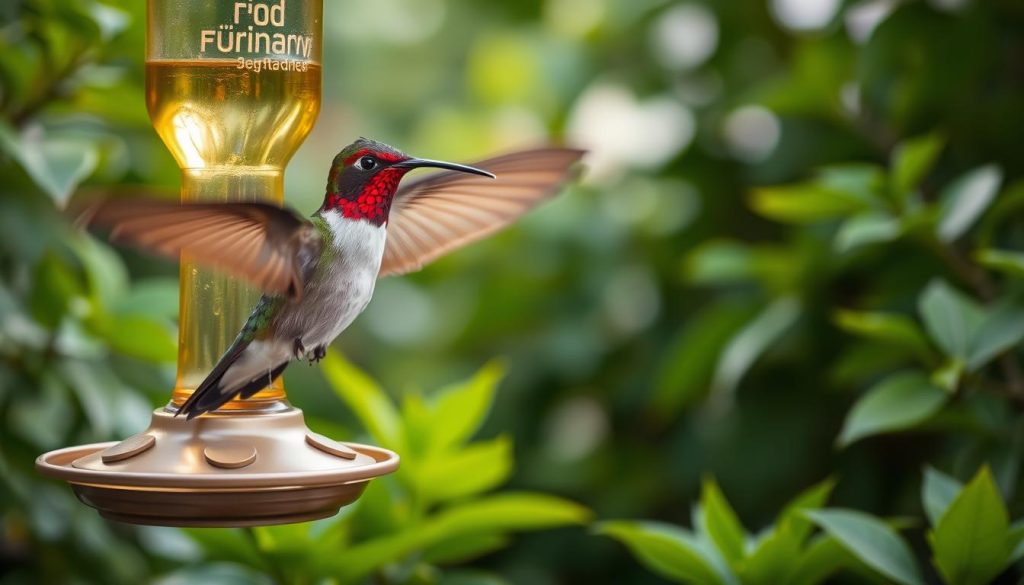
Creating safe nectar means knowing what to leave out as much as what to include. While it’s tempting to add color or swap ingredients, some choices can harm your winged guests. Stick to the basics—sugar and water—and avoid these common pitfalls.
Skip the Red Dye and Food Coloring
Many believe red dye attracts birds, but their feeder’s bright hue is enough. Studies link artificial food coloring to health risks, including liver damage. Vets warn: clear nectar is safest.
Red feeders vs. dyed liquid:
– Feeders with red bases work naturally.
– Dyed nectar offers no nutritional benefit.
– Try steeping hibiscus flowers for a safe tint.
Why Honey Doesn’t Belong in Nectar
Honey ferments rapidly, promoting dangerous fungal growth. Unlike refined sugar, it contains spores that can clog birds’ tongues. In warm weather, spoilage happens within hours.
Pro Tip: If you’re out of sugar, skip the honey—offer plain water until you can mix the correct ratio. Their health isn’t worth the risk.
Keeping Your Feeder Safe and Clean
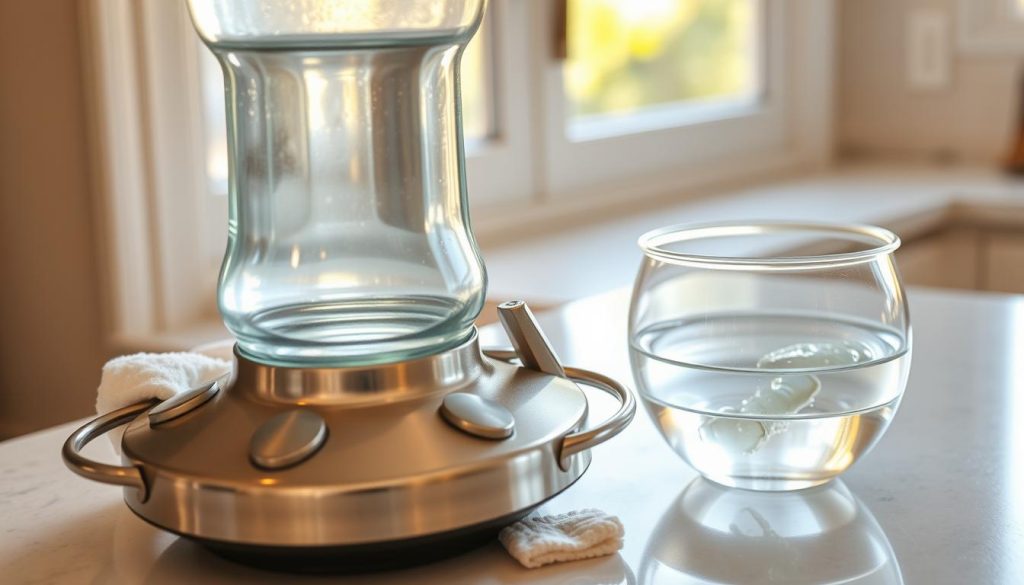
A sparkling clean feeder is just as important as the nectar inside it. Regular maintenance prevents mold growth and keeps visiting birds healthy. Follow these simple steps to create a safe dining spot for your energetic guests.
Nectar Refresh Schedule
Change nectar every 2-3 days—daily when temperatures hit 90°F+. Heat accelerates spoilage, turning sweet liquid into dangerous bacteria. In cooler climates, you might stretch to 4 days.
Create a maintenance schedule based on your local weather. Mark your calendar or set phone reminders. Pro Tip: Store extra mix in the refrigerator for quick refills.
Deep Cleaning with Vinegar
Use a 1:4 vinegar solution (1 part vinegar to 4 parts water) for tough grime. Soak the feeder for 15 minutes, then scrub with a bottle brush. Rinse thoroughly—no vinegar residue should remain.
Why vinegar beats bleach:
– Safer if traces remain
– Naturally dissolves mineral deposits
– Won’t damage feeder materials
Watch for cloudy nectar—it signals spoilage. Always dry components completely before refilling. Moisture encourages mold between uses. With proper care, your feeder becomes a reliable pit stop all season long.
Natural Ways to Attract More Hummingbirds
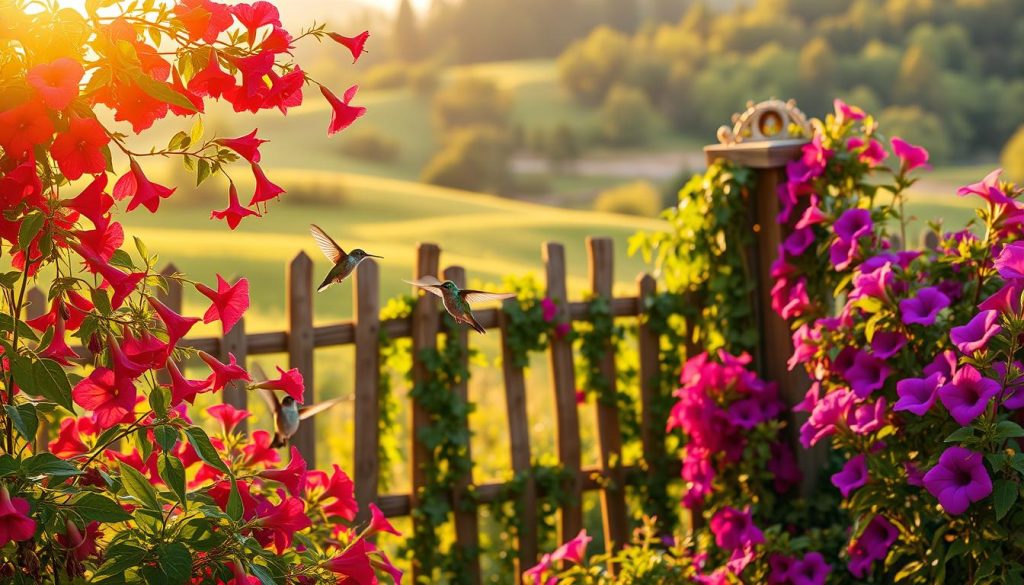
Transform your yard into a hummingbird hotspot with these easy, natural strategies. Beyond feeders, these tiny dynamos seek shelter, water, and blooming plants. A layered approach works best—combine food sources with smart habitat design.
Planting Nectar-Rich Flowers
Choose tubular blooms in fiery reds and oranges—nature’s hummingbird feeders. Native species like bee balm and trumpet vine offer perfect shape for their needle-like bills. Salvia’s long bloom period provides reliable fuel.
For year-round appeal:
- Early season: Columbine (Zones 3-8)
- Summer: Cardinal flower (Zones 3-9)
- Fall: Autumn sage (Zones 7-9)
Cluster flowers in groups of three or more. This creates visible landing zones from the air. Avoid pesticides—these birds snack on insects too!
Feeder Placement Tips
Hang feeders where birds feel safe but can spot them easily. Ideal spots are 5 feet off the ground near tree cover—but with 10 feet of open space around them. This balances quick escape routes with visibility.
Smart placement avoids:
- Windows (place within 3 feet or beyond 10 feet)
- Full sun (nectar spoils faster)
- Areas where cats prowl
Add a mister nearby. These birds adore flying through water droplets for baths! With the right feeder placement and floral buffet, you’ll enjoy nonstop aerial shows.
Enjoy the Flutter and Squeaks of Thanks!
Every sip they take is a tiny thank-you for your effort. Capture those magical moments—snap photos or videos when these speedy visitors pause to refuel. Share your homemade recipe with neighbors to turn the whole block into a buzzing paradise.
Remember, seasons change. As fall approaches, some birds migrate south. Keep feeders up for late travelers, but reduce nectar quantity to match demand.
Stay vigilant with safety: clean feeders weekly and skip dyes. A little care ensures your home remains their favorite pit stop.
What’s your best bird-watching story? Drop a comment below—we’d love to hear how these winged gems brighten your day!
If you want to read more article,please click here.
If you want to know more,then click here.
Leave a Reply