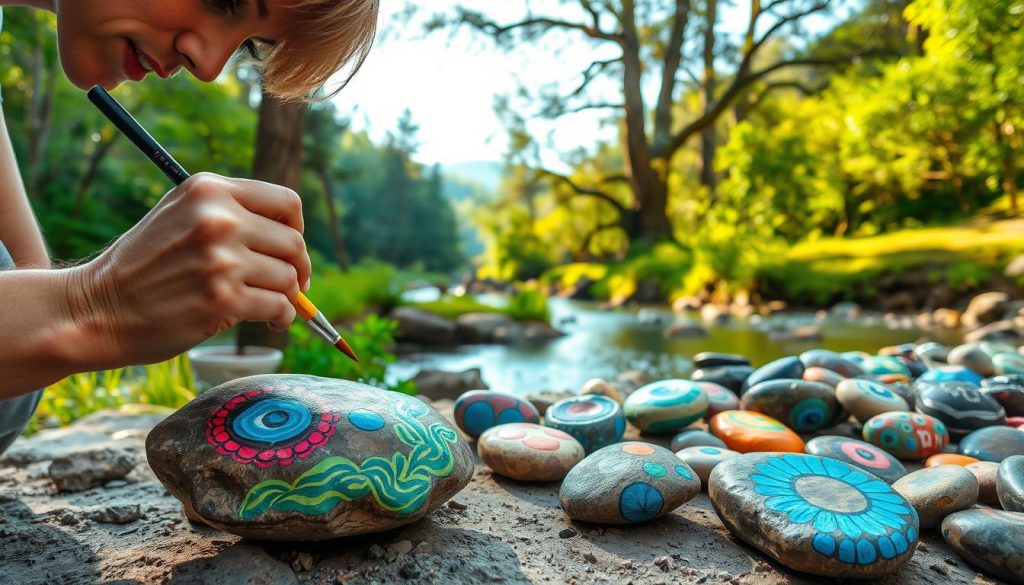
Ever stumbled upon a beautifully decorated stone and felt an instant smile? That’s the magic of turning ordinary rocks into tiny masterpieces. I still remember my first attempt—a wobbly heart that somehow sparked a lifelong love for this craft.
What started as a weekend experiment became a way to spread joy. Hiding these little treasures in parks or leaving them on benches feels like sharing a secret happiness. Whether you’re looking for a relaxing hobby or a creative outlet, rock painting 101 welcomes everyone.
In this guide, I’ll walk you through the basics of rock painting 101—from choosing the right acrylic paint to sealing your designs for longevity. Let’s turn simple stones into stories together.
Key Takeaways
- Perfect for all ages—no prior experience needed.
- Transforms ordinary finds into meaningful art.
- Ideal for community kindness projects.
- Uses accessible materials like acrylics and sealants.
- Combines creativity with outdoor exploration.
Welcome to Rock Painting 101: Let’s Get Started!
A single painted pebble can carry more joy than you’d expect. What began as a fun craft quickly turned into a way to uplift others. The Kindness Rocks Project sums it up perfectly: “One message at just the right moment can change someone’s day.”
Why Paint Rocks?
It’s more than just art—it’s connection. Joining groups like #CWPDrocks showed me how these tiny treasures bring people together. Strangers post photos of found rocks, creating a ripple effect of smiles.
Painting is also incredibly calming. Focusing on designs helps quiet the mind, making it a great stress reliever. Plus, it’s a creative outlet anyone can enjoy, no experience needed.
My Journey with Rock Painting
My first attempt was during summer break with my niece. We painted simple hearts and hid them at the park. Weeks later, someone shared one online—it was magical!
Now, I love leaving rocks with uplifting quotes near bus stops or trails. Seeing how they brighten someone’s day never gets old. Start small—a dotted pattern or seasonal theme works wonders.
Grab your supplies, gather the family, and spread a little joy. You’ll be amazed at the happiness a tiny canvas can hold.
Essential Rock Painting Supplies You’ll Need

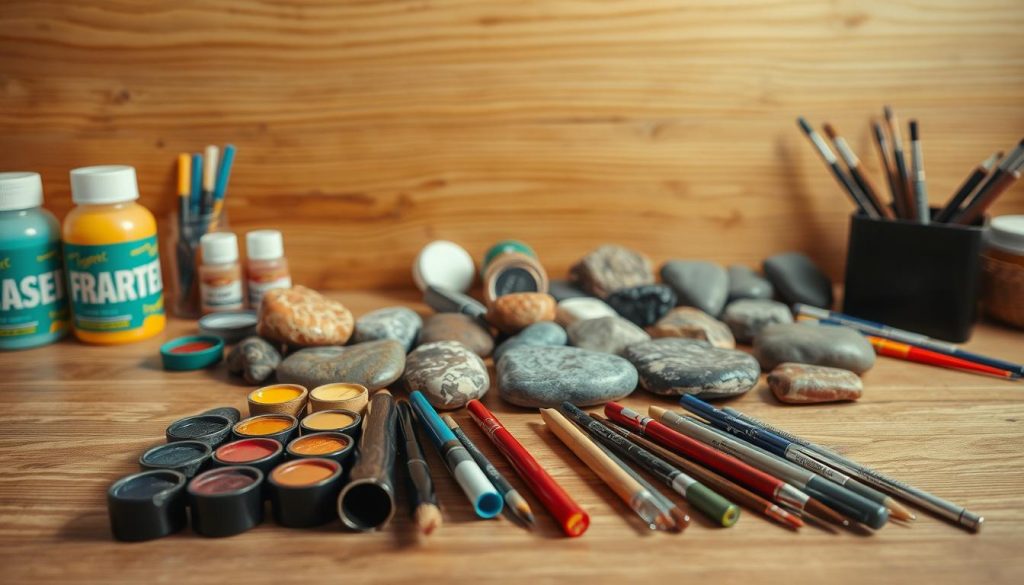
Gathering the right supplies makes all the difference in creating vibrant stone art. Whether you’re crafting at home or prepping for a community project, quality materials ensure your designs pop and last.
Choosing the Right Rocks
Smooth, flat surfaces work best. You can find pre-packaged rocks at craft stores like Dollar Tree or hunt for natural ones outdoors. Store-bought stones offer uniform sizes, while handpicked ones add organic charm.
Always wash your finds with soap and water to remove dirt. This helps the acrylic paint adhere better. Let them dry completely before starting.
Best Paints and Brushes for Beginners
Apple Barrel paints from Walmart are my go-to for base coats. They’re affordable and come in bold colors. For finer details, Uni-Posca markers outperform brushes—especially for dot mandalas.
If you’re on a budget, start with a basic set. Upgrade to premium brands like Posca later for intricate work.
Must-Have Tools: Paint Pens and Sealers
Paint pens are game-changers. They glide smoothly and dry quickly. Avoid googly eyes or stickers if you plan to hide your art outside—they won’t withstand weather.
Seal your masterpiece with Rust-Oleum polyurethane. Apply two thin layers, waiting 30 minutes between each. This keeps colors bright rain or shine.
Step-by-Step Rock Painting Instructions

Transforming a plain stone into art is easier than you think with these simple steps. I’ve refined my process through trial and error—now you can skip the mistakes and jump straight to stunning results. Whether you’re aiming for dotted mandalas or watercolor effects, these instructions will set you up for success.
Prepping Your Rocks: Cleaning and Drying
Start by scrubbing your finds with soapy water to remove dirt. A toothbrush works wonders for crevices. This ensures the paint adheres properly without peeling later.
After washing, let them dry overnight. I place mine on a towel near a sunny window—patience here prevents smudged designs. For store-bought stones, a quick rinse usually suffices.
Painting Techniques for Stunning Designs
Apply acrylic paint in 2-3 thin coats instead of one thick layer. This prevents cracking and gives vibrant coverage. Let each coat dry for 15 minutes before adding another.
For dots, use nail tools or crochet hooks dipped in paint. My pro trick? Sketch your design first with chalk—it wipes off easily if you make mistakes. Watercolor pencils (like in Shelley’s heart tutorial) create beautiful blended effects too.
Sealing Your Masterpiece for Longevity
Once your design is complete, let it dry completely for 24 hours. Then head outside to spray with Rust-Oleum polyurethane. Rotate the stone while spraying for even coverage.
Apply two light layers, letting each dry for 30 minutes. This sealant protects against rain and UV rays, keeping colors bright for months. Now your art is ready to hide or display!
Unleash Your Creativity: Rock Painting Ideas to Try
Ready to take your craft to the next level? Seasonal designs like Halloween candy stones or summer-themed watercolor hearts add playful charm. My favorite? Shelley’s decoupage method—using patterned napkins and Mod Podge for textured effects.
Gather your family for themed nights. Try inspirational quotes or local landmarks. Mix media by pairing acrylic bases with metallic pens for shine. For beginners, a simple tutorial on dot mandalas builds confidence.
Experiment with colors and textures. Layer napkins for depth or try line art for crisp details. Every piece tells a story—what will yours say?
If you want to read more article,please click here.
If you want to know more,then click here.
Leave a Reply